← All guides
How to create your first invoice
A 5-minute walkthrough that takes you from zero to your first paid invoice.
Step 1 — Invoice Tab
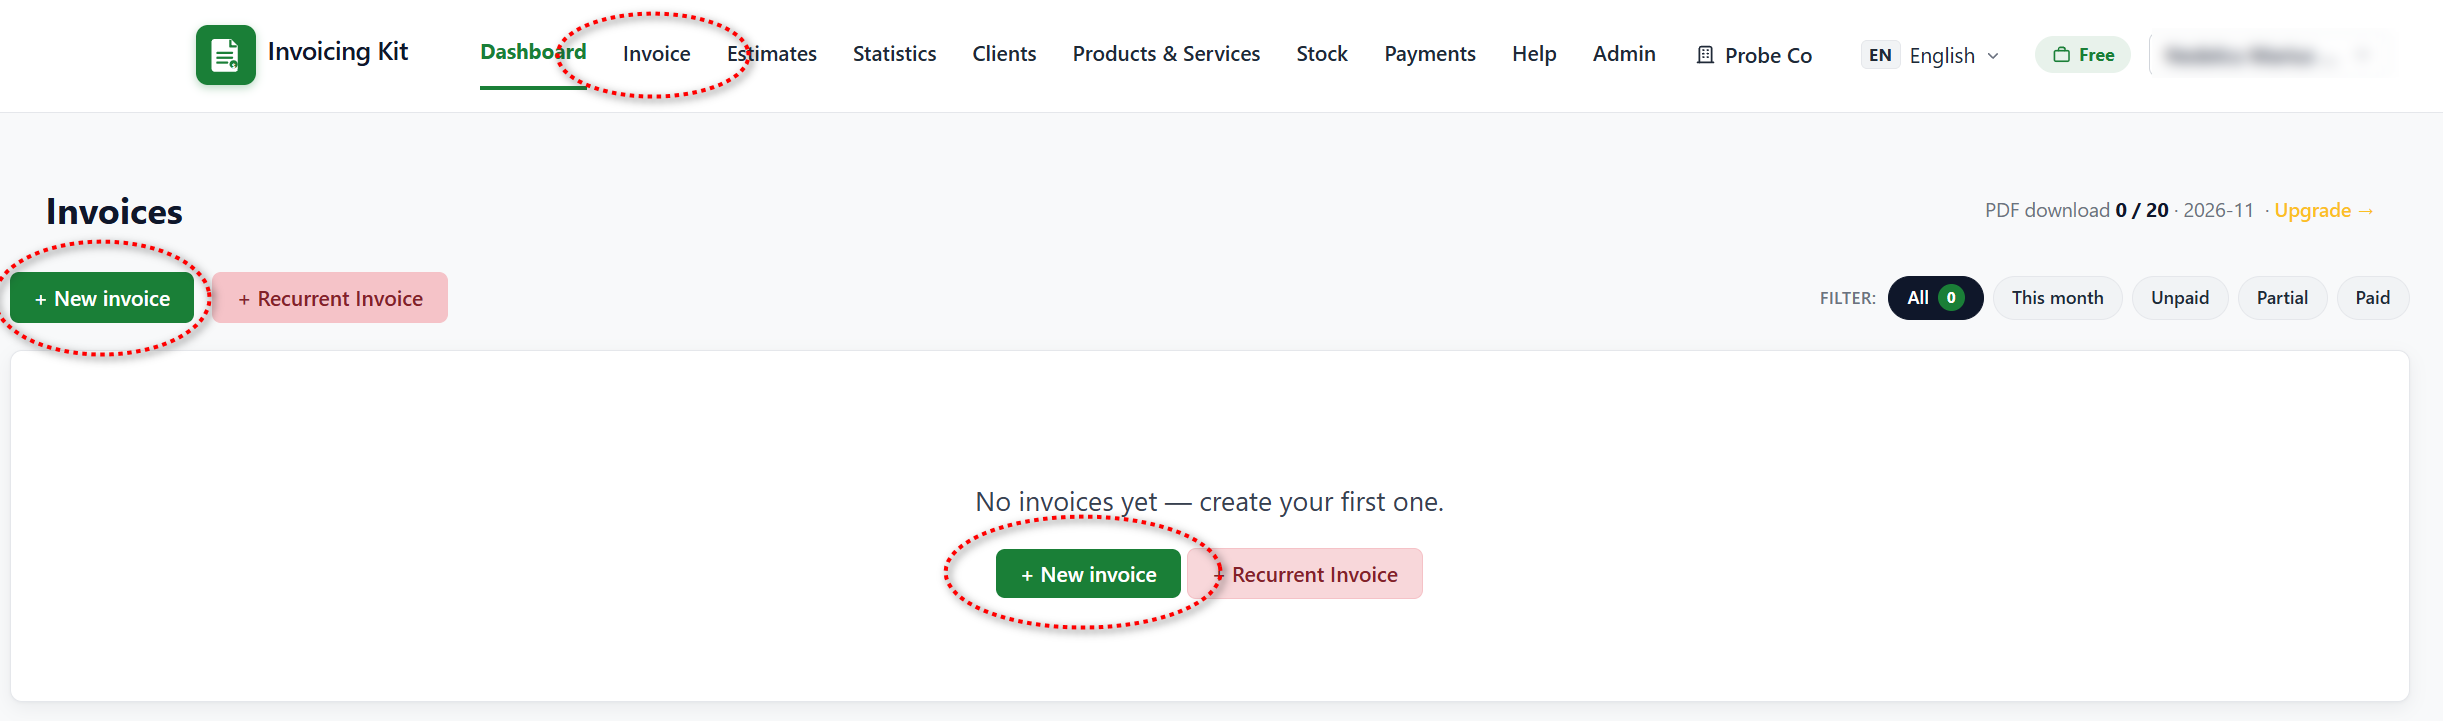
When you enter the application for the first time, you will be on the Dashboard.
You will have 2 options: either you click the NEW INVOICE button to create a regular invoice or a recurring invoice (which we will talk about separately later)
, or you click the Invoice link right next to the Dashboard link.
From here, you will be guided to the invoicing form, where you can select your company (please refer to the guides on companies , clients, products/services,
and inventory) and add more products or services.
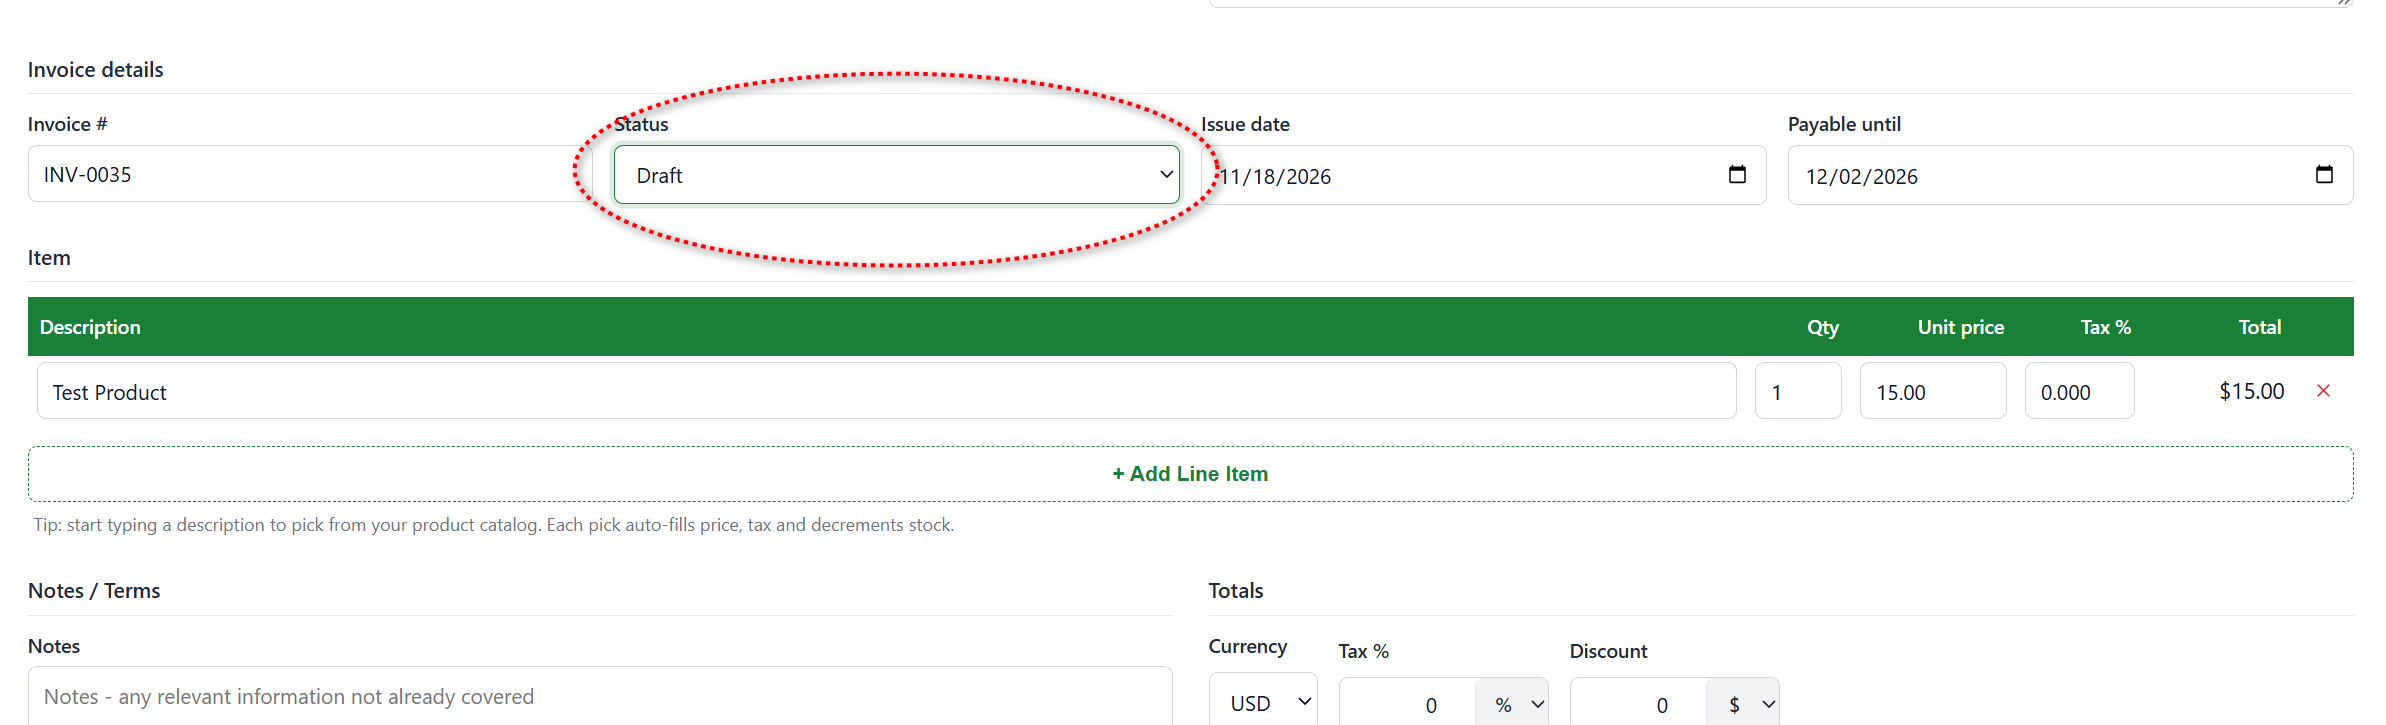
Once you have filled in the details for these, click the Add New Line Item button to continue the list of products/servicesyou want to invoice.
Invoice #
Each invoisce has it's
Status Field
Each invoice has a DRAFT status by default. Please pay attention to this detail, because a draft invoice must be switched to SENT for the system to take it
into consideration for production. A draft remains a draft until you change its status; while it is in Draft mode, you can add or modify any entry, as it is considered
to be in preparation for sending to your client.
and inventory) and add more products or services.
Once you have filled in the details for these, click the Add New Line Item button to continue the list of products/servicesyou want to invoice.
Invoice #
Each invoisce has it's
Status Field
Each invoice has a DRAFT status by default. Please pay attention to this detail, because a draft invoice must be switched to SENT for the system to take it
into consideration for production. A draft remains a draft until you change its status; while it is in Draft mode, you can add or modify any entry, as it is considered
to be in preparation for sending to your client.
Issue date
This field is the issue date of your invoice. This is important because every invoice is displayed by its month of issue.
Payable until
This field is the last date when your invoice should be paid.This field is very important for the system because reminders to your client are based on this date.
This field is the issue date of your invoice. This is important because every invoice is displayed by its month of issue.
Payable until
This field is the last date when your invoice should be paid.This field is very important for the system because reminders to your client are based on this date.